Photos Breast Lift
Correction of Bottoming Out


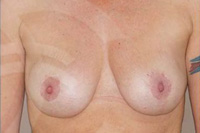
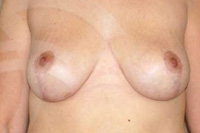
Before & after photos
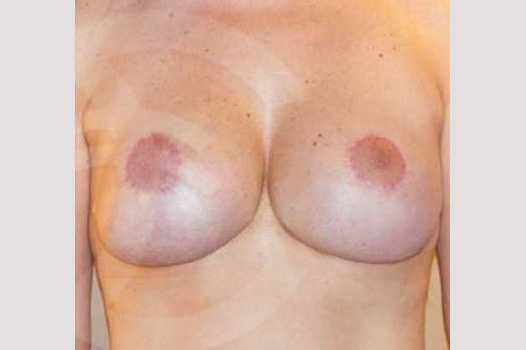
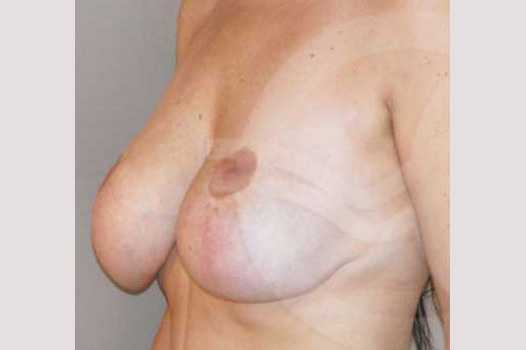
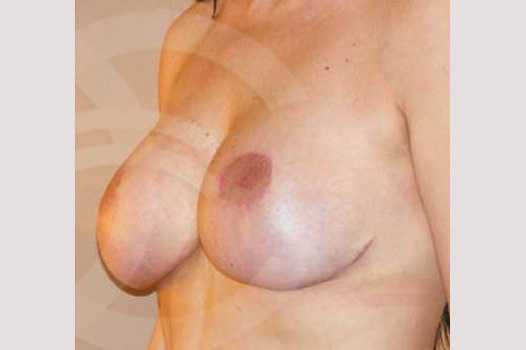
350cc high profile rounds implants. Secondary Mastopexy with Correction of Bottoming Out
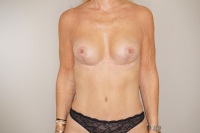
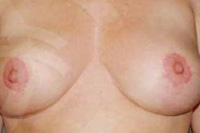
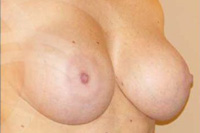
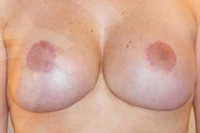
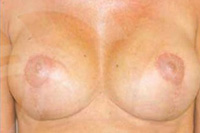
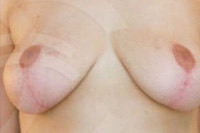
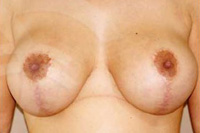
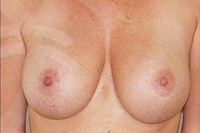
350cc high profile rounds implants. Secondary Mastopexy with Correction of Bottoming Out